![]() Call us now:
Call us now:

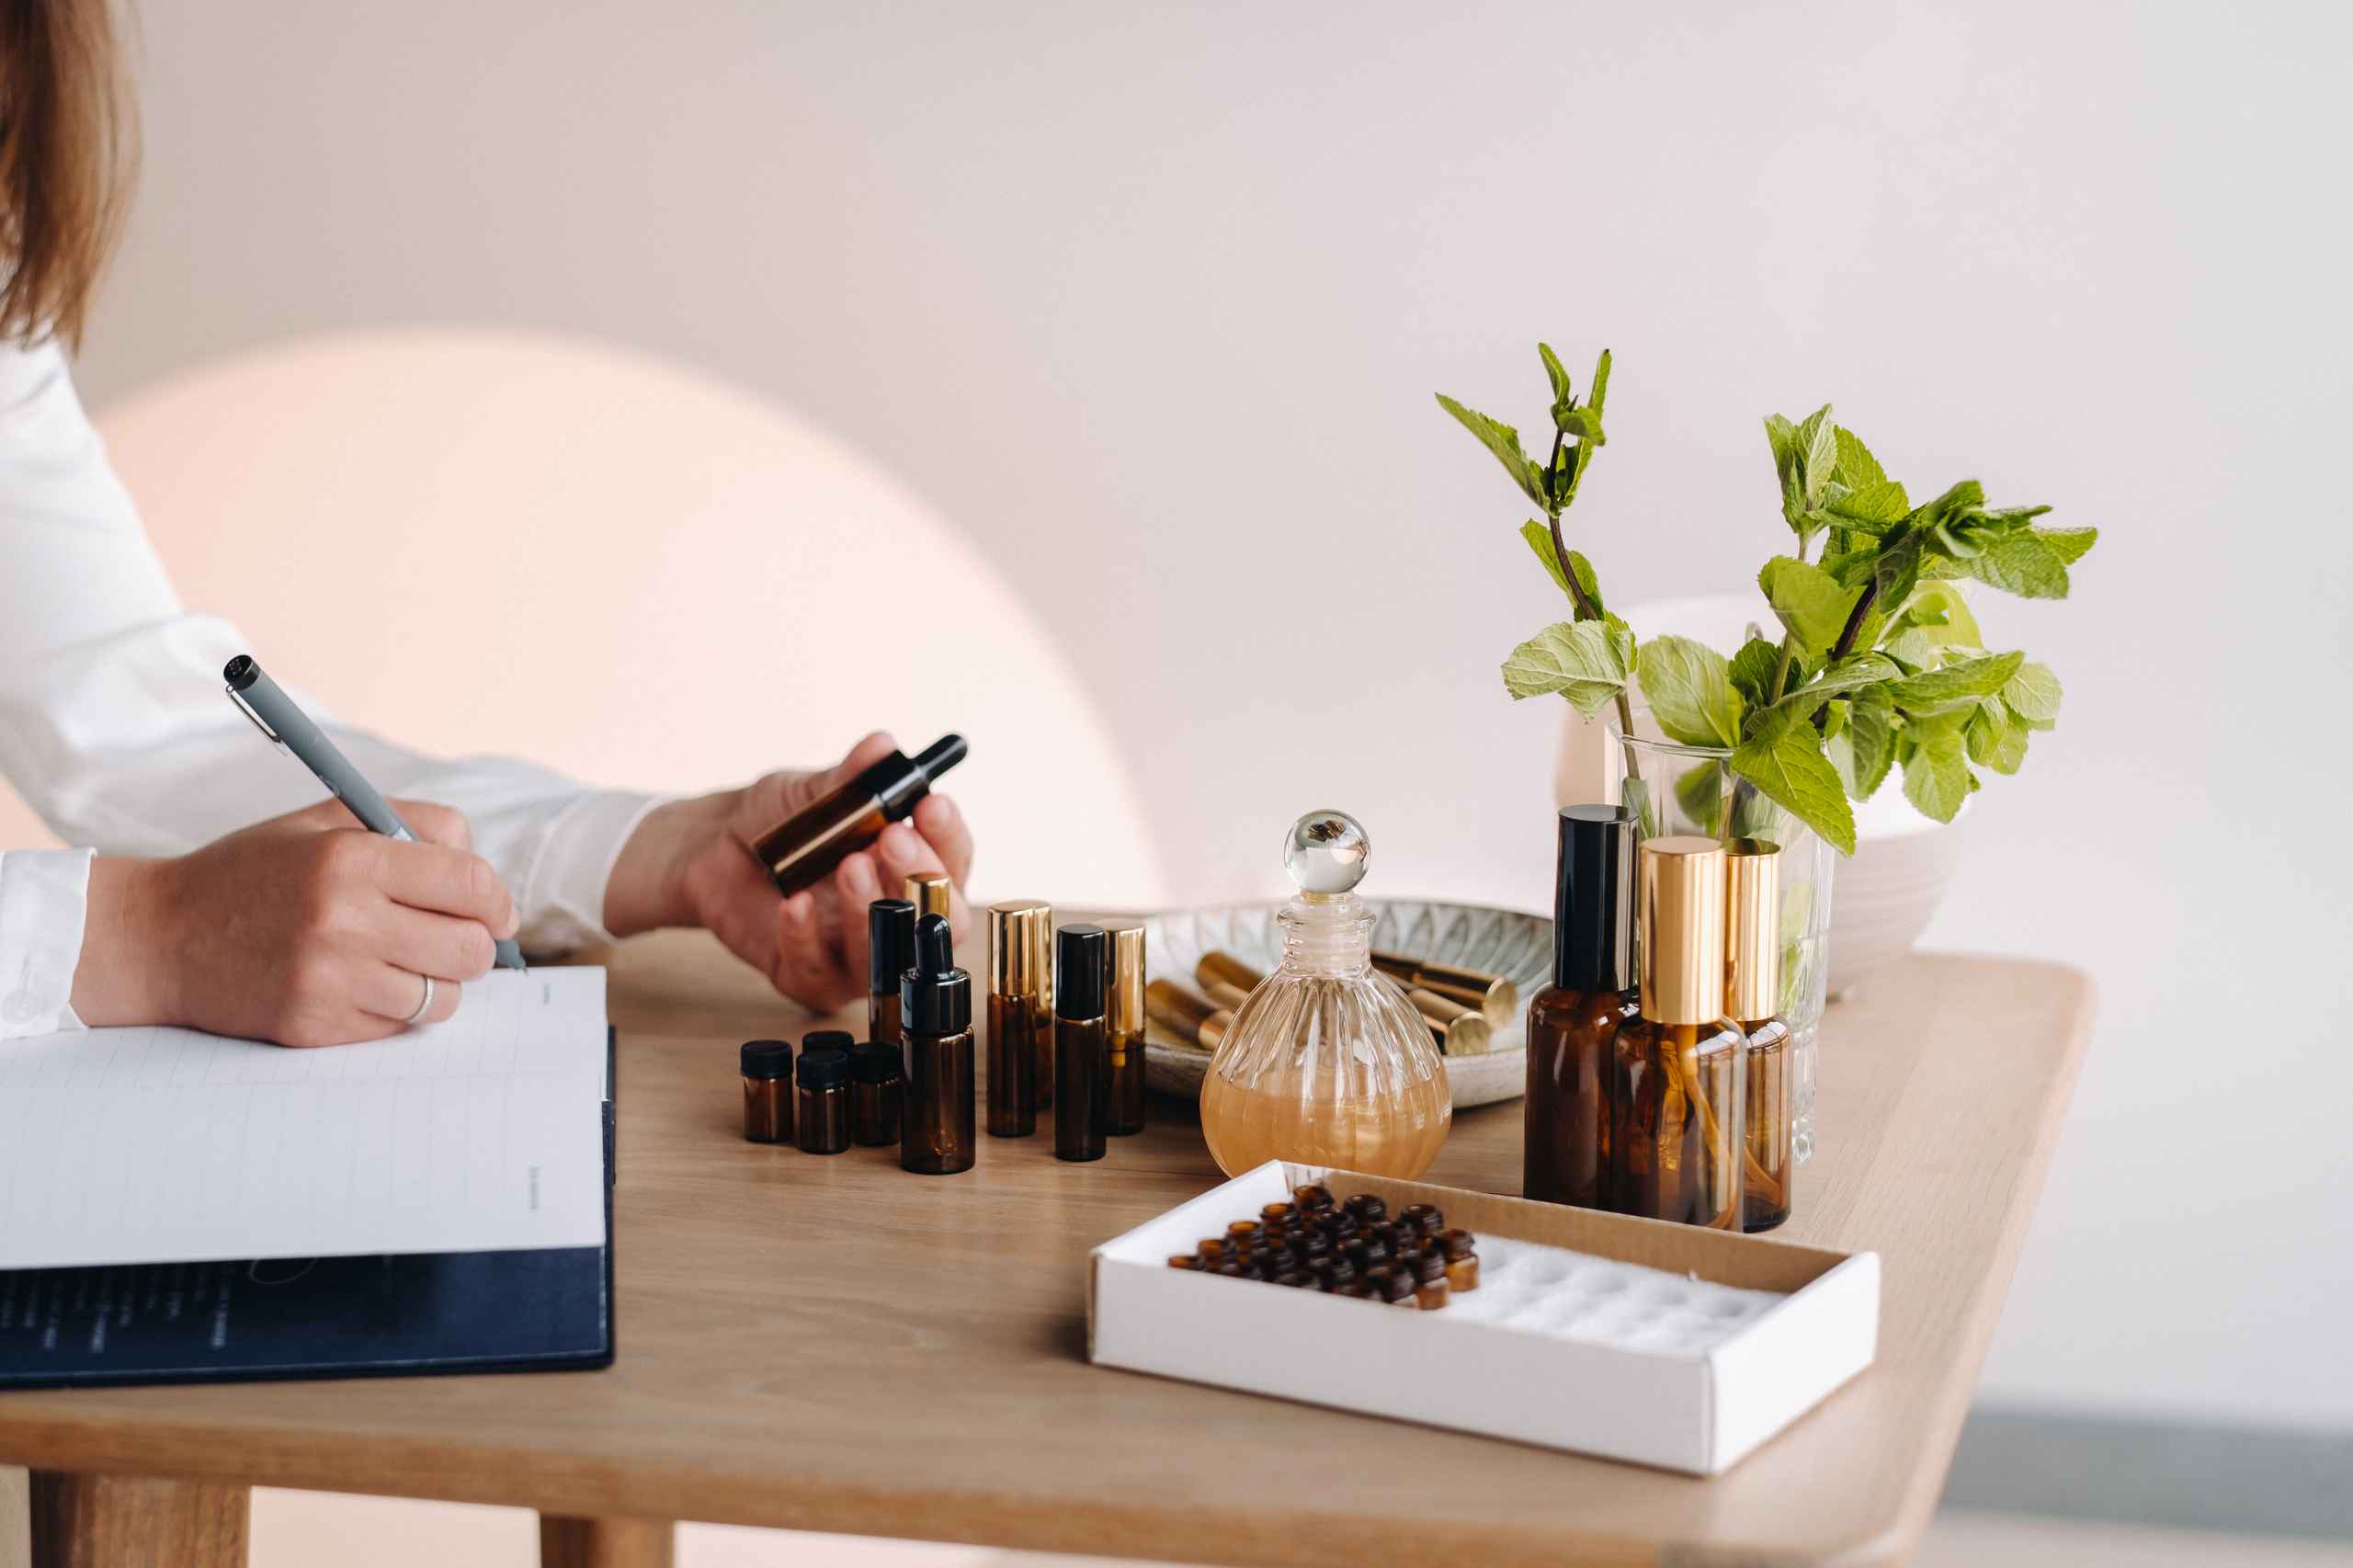
Reed diffusers have become a beloved way to fill living spaces with gentle, lasting aromas without flames or electricity. They’re simple to make, customizable, and add a chic decorative touch to any room. If you want to create your own elegant reed diffuser, here’s how to start.
What Makes Reed Diffusers Special?
Unlike candles or sprays, reed diffusers provide continuous fragrance without needing to be lit or sprayed repeatedly. The reeds absorb the scented oil and slowly release it into the air, making the scent subtle and steady.
Benefits of DIY Reed Diffusers
- Long-lasting scent release
- Safe around children and pets
- Stylish and customizable décor
- Eco-friendly and reusable materials
Materials You’ll Need
- Glass bottle or vase with a narrow neck
- Rattan or bamboo reeds
- Carrier oil (like almond or safflower oil)
- Essential oils or fragrance oils
- Measuring tools and funnel (optional)
Step-by-Step Instructions
- Choose Your Container: Pick a bottle with a narrow opening to slow evaporation. Clear glass lets your diffuser blend shine visually.
- Mix Your Base: Combine about 1/4 cup carrier oil with 25-30 drops of your chosen essential oils. Stir gently.
- Pour Into Bottle: Use a funnel if needed to avoid spills.
- Add Reeds: Insert 6-8 reeds and let them soak for a few hours. Flip reeds every few days to refresh the scent.
- Placement: Place your diffuser in a low-traffic area to avoid spills but where air circulates.
Tips for Stunning Diffusers
- Decorate the bottle with ribbons, tags, or labels to personalize gifts.
- Experiment with oil blends to create signature scents.
- Replace reeds every 1-2 months for optimal scent diffusion.
- Use colored or frosted glass for added style.
Making reed diffusers is a delightful craft that blends creativity and functionality. With a little patience and practice, you’ll have beautiful, fragrant pieces that elevate any room and impress friends and family.